How to optimize CAD files for 3D printing

1. Preparing Your CAD Model for 3D Printing
Learn How to optimize CAD files for 3D printing. Before slicing a CAD model for 3D printing, ensuring a clean, optimized design is crucial. A well-prepared file reduces print errors, improves structural integrity, and minimizes the need for excessive supports.
Choosing the Right File Format
Different file formats impact printability:
- STL (Standard Tessellation Language)—Most common format, storing 3D data as a mesh of triangles.
- OBJ—Supports color and texture data, ideal for multi-material printing.
- STEP—Preferred for preserving parametric data but requires conversion before slicing.
STL remains the most widely used for 3D printing, but keeping high-resolution exports within a manageable file size prevents excessive processing time.
Ensuring Watertight Geometry
A model must be “watertight” to be printable, meaning it has no holes or non-manifold geometry. Common errors include:
- Open edges—Unclosed surfaces causing slicing failures.
- Duplicate faces—Overlapping geometry leading to unpredictable behavior.
- Non-manifold edges—Unconnected areas making the mesh invalid.
Using mesh repair tools like Meshmixer or Netfabb ensures clean geometry before exporting the model.
Simplifying Complex Models
Reducing excessive details helps improve print success rates. Consider:
- Lowering polygon count for simpler, smoother surfaces.
- Avoiding unnecessary internal structures that increase print time.
- Checking overhangs—designing with 45-degree angles to reduce support needs.
With proper CAD model prep, slicing software can process the file efficiently while maintaining print accuracy.
2. Optimizing for Printability and Strength
Even a well-designed CAD file can encounter issues when translated into a physical print. Optimizing key design features ensures better structural integrity, fewer failed prints, and improved overall quality.
Wall Thickness Considerations
Designing with the correct wall thickness is crucial for print strength and accuracy.
- Too thin? Walls under 0.8mm may fail due to poor layer adhesion.
- Too thick? Excess thickness can waste filament and extend print time.
- Best practice: Aim for 1.2mm–2mm walls for optimal balance between durability and efficiency.
Adjusting shell count in slicing software allows fine-tuning of wall thickness without redesigning the CAD model.
Overhang Angles and Bridging
To avoid excessive supports and improve print success, consider:
- Reducing steep overhangs—Design with a maximum 45-degree angle to improve self-supporting features.
- Bridging optimization—For short horizontal spans, ensure proper cooling to prevent sagging.
- Chamfers instead of fillets—Chamfered edges provide better stability and adhesion than rounded features.
Strategic design adjustments minimize support needs, leading to cleaner prints and reduced post-processing time.
Layer Orientation and Part Placement
A model’s orientation affects its strength and print quality.
- Print along strongest axis—Ensure layers align with the load-bearing direction for maximum durability.
- Avoid tall, thin prints—Larger surface contact improves bed adhesion and reduces warping.
- Split complex parts strategically—Breaking a model into multiple pieces can improve printability while maintaining strength.
By considering these factors, designers can create CAD models optimized for success in FDM printing.
3. Exporting and Final Checks Before Slicing
Before sending a CAD model to the slicer, final optimizations ensure printability, reduce errors, and streamline the process. Here’s how to prepare files for a smooth transition into slicing software.
Mesh Cleanup: Repairing Files for Smooth Printing
Even well-designed CAD models can contain hidden flaws that affect printing. Running a mesh integrity check removes issues like:
- Non-manifold edges—Unconnected faces that confuse slicers.
- Overlapping geometry—Sections that intersect, causing slicing errors.
- Holes or gaps—Missing surfaces that prevent a watertight mesh.
Software tools like Meshmixer, Netfabb, and Blender can automatically repair these errors. In slicer software, some built-in tools detect and fix minor problems before printing begins.
Tuning Resolution and Polygon Count
High-resolution models might look detailed in CAD but can lead to unnecessarily large file sizes. Overly complex meshes slow down slicing and sometimes cause print failures. Optimizing polygon count while maintaining quality is key:
- Use an appropriate mesh density—Over 1 million polygons is excessive for most prints.
- Balance file size vs. detail—Reducing resolution keeps models manageable while preserving essential geometry.
- Keep details reasonable—Fine details under 0.2mm may not print well on FDM machines.
Tools like Fusion 360, MeshLab, and Blender allow polygon reduction while maintaining important features.
Validating Printability in Slicer Software
Before exporting, it’s essential to preview how the model will be sliced. Using the slicing preview function, check for:
- Proper layer generation—Ensure all sections appear correctly in the print preview.
- Wall thickness issues—Look for areas too thin to print reliably.
- Support placement—Confirm whether manual supports are needed for complex overhangs.
Running test slices in PrusaSlicer, Cura, or Bambu Studio helps identify potential problem areas before committing to a print.
By performing these final checks, designers can ensure their models translate seamlessly into successful 3D prints.

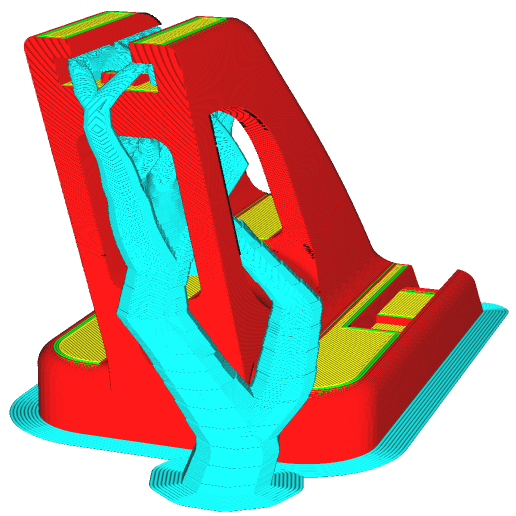
How to use supports in 3D slicer software
Support structures often make the difference between a flawless model and a failed print.
Best 3D Printing Software for Beginners (Free Options)
There are excellent free 3D printing software tools made specifically with beginners in mind.

Top Plugins for Creating Custom Supports in Slicers
Discover the top plugins for creating custom supports in slicers. reduce waste, and improve print success. Fine-tune slicing for cleaner prints!
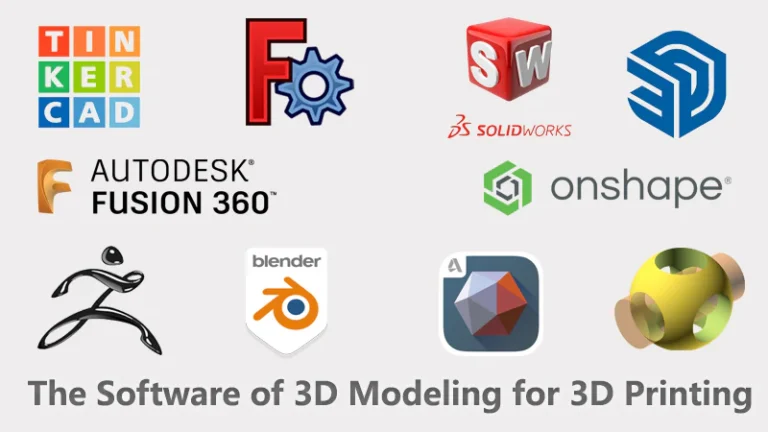
Best 3D Modeling Software for Beginners: A Comprehensive Guide
3D modeling is the backbone of digital creation—whether you’re designing prototypes for 3D printing, developing video game assets, or crafting architectural models.
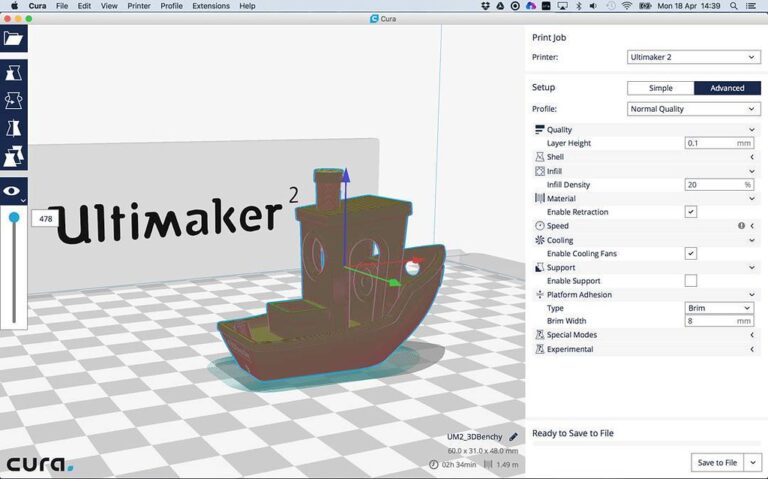
Cura Slicer Beginner Tips: Mastering Your First Prints
Discover essential settings, troubleshooting tips, and advanced techniques like tree supports and optimized infill patterns to take your 3D printing to the next level.


